Host-Independent DNS: Deploying Technitium DNS in a Homelab
Learn how to deploy Technitium DNS inside a lightweight Proxmox LXC, configure encrypted recursive upstreams (DoH), and manage wildcard name resolution for your Kubernetes cluster.
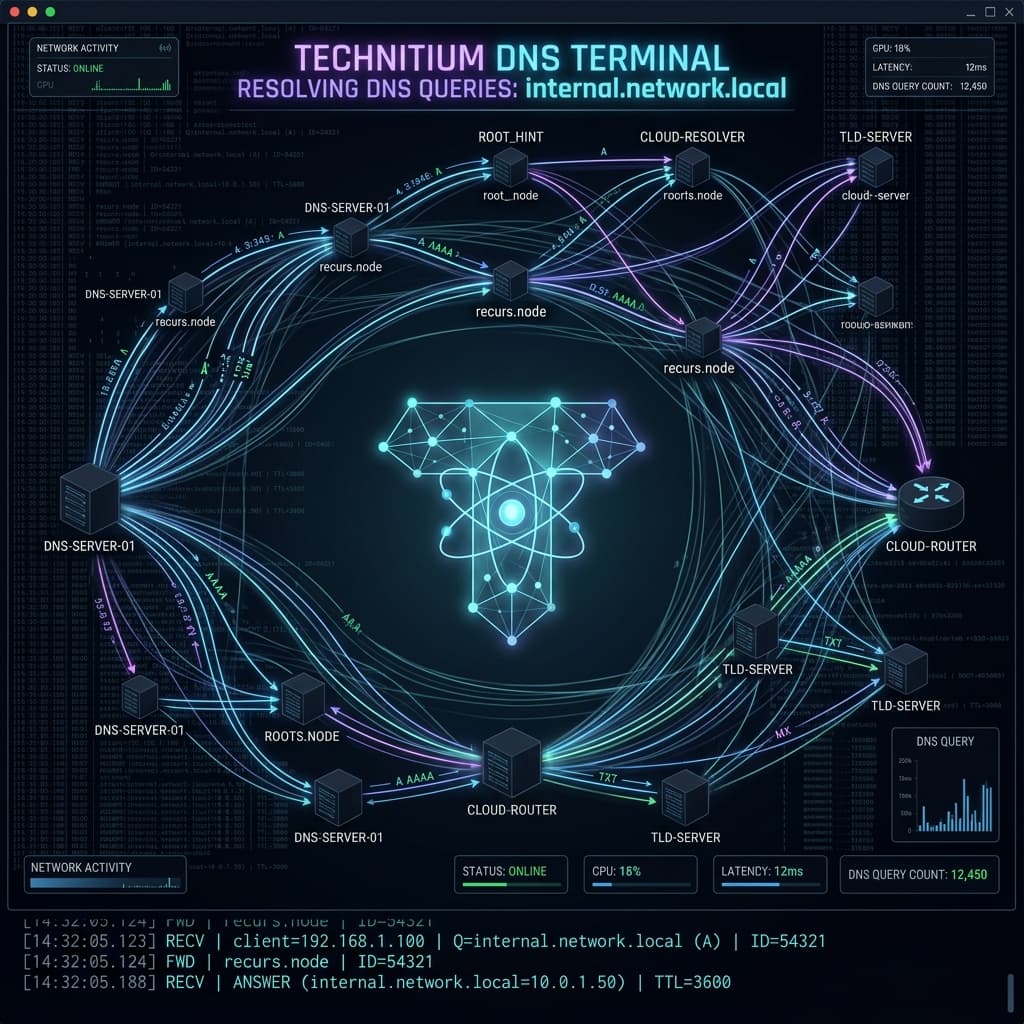
Introduction to Host-Independent DNS
In a professional DevOps sandbox or homelab environment, relying on IP addresses to connect services is a recipe for fragility. Hardcoded IPs break the moment a DHCP lease expires, a VM is rescheduled, or a Kubernetes worker node reboots.
To build a resilient, independent system, you need a local DNS Server. Technitium DNS is an outstanding open-source self-hosted DNS server that features a rich web dashboard, recursive resolving, and native support for encrypted upstreams (DNS-over-HTTPS/DoH).
In this tutorial, we will deploy Technitium DNS inside a lightweight Proxmox LXC container and wire it up to support our local homelab routing maps.
🏗️ Architectural Overview
Our local resolution path will look like this:
Step 1: Provisioning the Proxmox LXC Container
Instead of running a heavy full-blown virtual machine, we will deploy Technitium inside a lightweight Alpine Linux LXC (Linux Container) to minimize RAM and CPU overhead.
1. Download the Alpine Template
In your Proxmox VE web interface:
- Select your target Storage (e.g.
local). - Go to CT Templates -> Templates and search for
alpine. - Download the latest
alpine-3.xtemplate.
2. Create the Container
Click Create CT at the top right of Proxmox and set these parameters:
- Hostname:
homelab-dns - Template: Select the downloaded Alpine image.
- CPU:
1 Core - Memory:
512 MB RAM/512 MB Swap - Network: Assign a static IP address, e.g.,
10.0.10.15/24with Gateway10.0.10.1.
Step 2: Installing Technitium DNS
Once the container starts, open its console shell and run the following installer commands:
1. Update and Install Dependencies
Alpine Linux requires dotnet dependencies to run the Technitium binary. Run:
apk update && apk upgrade
apk add bash curl icu-libs krb5-libs libgcc libintl libssl3 libstdc++ zlib wget
2. Run the Official Installation Script
Execute the self-contained installer script:
curl -sSL https://technitium.com/dns/install.sh | bash
The installer will automatically download the assemblies, create a system daemon named systemd-dns, and expose ports 53 (DNS) and 5380 (Web UI).
Step 3: Setting Up Encrypted Forwarders (DoH)
To protect your home network's DNS queries from being hijacked or monitored by your ISP:
- Navigate to
http://10.0.10.15:5380and log in (default admin credentials will prompt for update). - Go to Settings -> Proxy & Forwarding.
- Under Forwarders, enter secure Cloudflare or Quad9 DNS-over-HTTPS (DoH) endpoints:
https://chrome.cloudflare-dns.com/dns-queryhttps://dns.quad9.net/dns-query
- Set the Protocol dropdown to
DNS-Over-HTTPS(DoH) and click Save.
Step 4: Creating a Local Wildcard Zone
To route all local subdomains (like grafana.homelab.local or argocd.homelab.local) to our Traefik reverse proxy node (10.0.10.20), we will create a primary wildcard DNS zone:
- In the Technitium UI, click Zones -> Create Zone.
- Set Zone Name to
homelab.localand click Create. - Inside the
homelab.localzone dashboard, click Add Record:- Name:
*(represents wildcard subdomains) - Type:
A - IP Address:
10.0.10.20(IP of your Traefik proxy)
- Name:
- Click Add Record again to map the apex domain:
- Name:
@(representshomelab.localroot) - Type:
A - IP Address:
10.0.10.20
- Name:
- Click Save.
Step 5: Verification & Client Configuration
Update your router's DHCP server parameters or your workstation's local network settings to point to your new primary DNS address: 10.0.10.15.
Test resolution locally in your terminal:
nslookup test.homelab.local 10.0.10.15
You should receive:
Server:		10.0.10.15
Address:	10.0.10.15#53

Name:	test.homelab.local
Address: 10.0.10.20
Your homelab now has a fully host-independent, secure, and automated DNS naming layer!