Automating Nested Sandboxes: Vagrant, Libvirt, and Proxmox VE Integration
A complete step-by-step technical guide to enabling nested KVM virtualization on Proxmox, configuring Libvirt inside an Ubuntu 24.04 VM, and using automated shell provisioning to stand up a highly available 3-node HashiCorp Consul cluster.
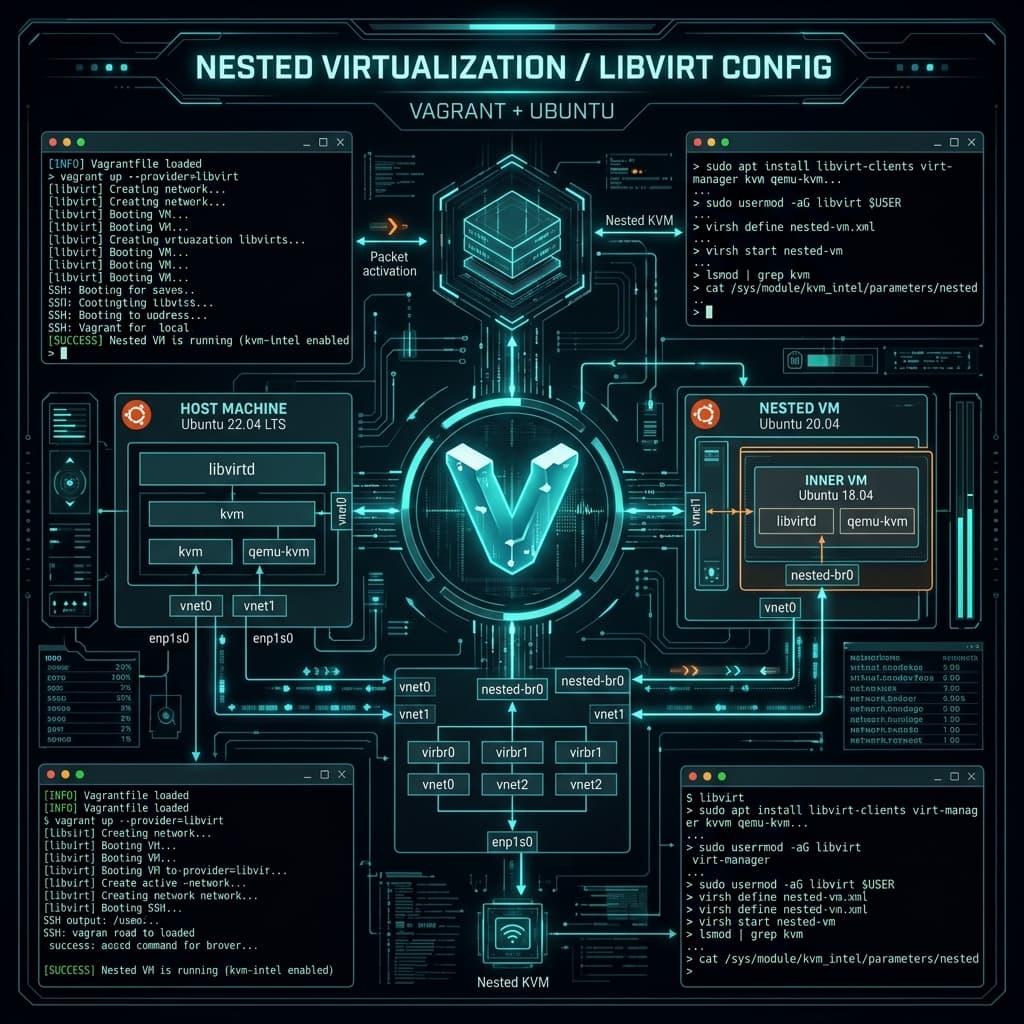
Automating Nested Sandboxes: KVM Virtualization in Virtualization
In advanced systems engineering and site reliability testing, we often need to simulate complete distributed server matrices without renting multiple cloud hypervisors. Nested virtualization—running virtual machines inside other virtual machines—provides an isolated local testbed where we can build, configure, and destroy clusters at zero cost.
This comprehensive, step-by-step guide details how to:
- Enable hardware nested virtualization on your Proxmox VE hypervisor host.
- Deploy a Level-1 virtual machine running Ubuntu 24.04 LTS.
- Install and configure Vagrant and Libvirt (KVM/QEMU) within that VM.
- Write a declarative, multi-node
Vagrantfile. - Compose an automated
bootstrap.shprovisioning bash script to deploy and cluster a highly available 3-node HashiCorp Consul service network.
🏗️ Architectural Topology
Our sandbox relies on direct hardware virtualization instruction routing:
Step 1: Enabling Nested Virtualization on Proxmox VE
By default, nested virtualization is disabled in the Linux kernel on Proxmox to prevent hardware scheduling errors. We must explicitly enable it on the physical host.
1. Enable KVM Nested Kernel Modules on Proxmox Host
Open the terminal on your bare-metal Proxmox shell and execute the following checks depending on your physical processor brand:
For Intel Processors:
# Check if nested virtualization is active (Y = Enabled, N = Disabled)
cat /sys/module/kvm_intel/parameters/nested

# If disabled, enable the kernel modules
echo "options kvm_intel nested=1" | sudo tee /etc/modprobe.d/kvm-intel.conf

# Reload the kernel modules
sudo modprobe -r kvm_intel
sudo modprobe kvm_intel
For AMD Processors:
# Check if nested virtualization is active (1 = Enabled, 0 = Disabled)
cat /sys/module/kvm_amd/parameters/nested

# If disabled, enable the kernel modules
echo "options kvm_amd nested=1" | sudo tee /etc/modprobe.d/kvm-amd.conf

# Reload the kernel modules
sudo modprobe -r kvm_amd
sudo modprobe kvm_amd
2. Configure Proxmox VM CPU settings
When deploying your Level-1 Ubuntu 24.04 virtual machine in Proxmox, you must configure the CPU settings to pass through the host virtualization flags:
- Navigate to your Proxmox web dashboard, select the Ubuntu VM, and click Hardware.
- Double-click Processor.
- Under Type, change from
Default (kvm64)tohost. - Click OK and boot the VM.
Verify that the virtualization flags are visible from inside the booted Ubuntu VM:
egrep -c '(vmx|svm)' /proc/cpuinfo
# The output must be greater than 0. If it is 0, CPU passthrough has failed.
Step 2: Installing Vagrant and Libvirt inside Ubuntu 24.04
Now that our Ubuntu 24.04 server acts as an authorized hypervisor, we will configure Libvirt and Vagrant to automate nested guest generation.
1. Install KVM/QEMU and Libvirt Core Services
Execute the virtualization suite inside the Level-1 Ubuntu VM terminal:
sudo apt update && sudo apt upgrade -y
sudo apt install -y qemu-kvm libvirt-daemon-system libvirt-clients virtinst bridge-utils libvirt-dev
Add your default system user to the libvirt and kvm groups to execute commands without sudo privilege errors:
sudo usermod -aG libvirt $USER
sudo usermod -aG kvm $USER
# Activate group settings without logging out
newgrp libvirt
2. Install the Official HashiCorp Vagrant Package
Add the official HashiCorp GPG key and repository bounds:
wget -O- https://apt.releases.hashicorp.com/gpg | sudo gpg --dearmor -o /usr/share/keyrings/hashicorp-archive-keyring.gpg
echo "deb [signed-by=/usr/share/keyrings/hashicorp-archive-keyring.gpg] https://apt.releases.hashicorp.com $(lsb_release -cs) main" | sudo tee /etc/apt/sources.list.d/hashicorp.list

sudo apt update && sudo apt install -y vagrant
3. Install the Vagrant Libvirt Provider Plugin
Install the high-speed KVM/QEMU adapter for Vagrant:
vagrant plugin install vagrant-libvirt
Step 3: Composing the Sandbox Code Blueprint
Create a designated repository sandbox directory inside your Ubuntu VM:
mkdir -p ~/nested-consul-sandbox/scripts
cd ~/nested-consul-sandbox
1. Create the Declarative Vagrantfile
Create the file named Vagrantfile at the root of your directory:
# Vagrantfile - Multi-VM HA Consul Cluster
Vagrant.configure("2") do |config|
  config.vm.box = "generic/ubuntu2404"

  # Configure Libvirt Provider globally
  config.vm.provider :libvirt do |libvirt|
    libvirt.driver = "kvm"
    libvirt.connect_uri = "qemu:///system"
    libvirt.cpus = 1
    libvirt.memory = 1024
    libvirt.nested = true # Passes KVM features down to inner VMs if needed
  end

  # Node 01 - Bootstrap Leader
  config.vm.define "consul-01" do |c|
    c.vm.hostname = "consul-01"
    c.vm.network "private_network", ip: "10.10.10.11", libvirt__forward_mode: "nat"
    c.vm.provision "shell", path: "scripts/bootstrap.sh", args: ["consul-01", "10.10.10.11", "bootstrap"]
  end

  # Node 02 - Joiner Server
  config.vm.define "consul-02" do |c|
    c.vm.hostname = "consul-02"
    c.vm.network "private_network", ip: "10.10.10.12", libvirt__forward_mode: "nat"
    c.vm.provision "shell", path: "scripts/bootstrap.sh", args: ["consul-02", "10.10.10.12", "join"]
  end

  # Node 03 - Joiner Server
  config.vm.define "consul-03" do |c|
    c.vm.hostname = "consul-03"
    c.vm.network "private_network", ip: "10.10.10.13", libvirt__forward_mode: "nat"
    c.vm.provision "shell", path: "scripts/bootstrap.sh", args: ["consul-03", "10.10.10.13", "join"]
  end
end
2. Create the Automated Provisioning Script
Create a bash script at scripts/bootstrap.sh that installs HashiCorp Consul and automatically bootstraps the HA cluster:
#!/usr/bin/env bash
set -euo pipefail

NODE_NAME=$1
NODE_IP=$2
CLUSTER_MODE=$3

echo ">>> Bootstrapping ${NODE_NAME} (IP: ${NODE_IP}) in ${CLUSTER_MODE} mode..."

# 1. Install HashiCorp Keyring & GPG
sudo apt-get update -y
sudo apt-get install -y gpg coreutils curl

curl -fsSL https://apt.releases.hashicorp.com/gpg | sudo gpg --dearmor -o /usr/share/keyrings/hashicorp-archive-keyring.gpg
echo "deb [signed-by=/usr/share/keyrings/hashicorp-archive-keyring.gpg] https://apt.releases.hashicorp.com $(lsb_release -cs) main" | sudo tee /etc/apt/sources.list.d/hashicorp.list

sudo apt-get update -y
sudo apt-get install -y consul

# 2. Configure Consul Server
sudo mkdir -p /etc/consul.d
sudo chown -R consul:consul /etc/consul.d

# Write target server configuration block
if [ "${CLUSTER_MODE}" == "bootstrap" ]; then
  # Bootstrap Node configuration
  sudo tee /etc/consul.d/consul.hcl > /dev/null <<EOF
node_name = "${NODE_NAME}"
data_dir = "/opt/consul"
datacenter = "dc-nested-01"
server = true
bootstrap_expect = 3
bind_addr = "${NODE_IP}"
client_addr = "0.0.0.0"
ui_config {
  enabled = true
}
EOF
else
  # Joiner Nodes configuration
  sudo tee /etc/consul.d/consul.hcl > /dev/null <<EOF
node_name = "${NODE_NAME}"
data_dir = "/opt/consul"
datacenter = "dc-nested-01"
server = true
retry_join = ["10.10.10.11"]
bind_addr = "${NODE_IP}"
client_addr = "0.0.0.0"
ui_config {
  enabled = true
}
EOF
fi

# 3. Start Consul Daemon
sudo systemctl enable consul
sudo systemctl start consul

echo ">>> ${NODE_NAME} provisioning complete!"
Grant executable permissions to your script:
chmod +x scripts/bootstrap.sh
Step 4: Bootstrapping and Provisioning the Cluster
With our declarative architecture files in place, executing the provisioning cycle is simple:
# Launch the nested servers using the Libvirt provider
vagrant up --provider=libvirt
Vagrant will automatically:
- Download the baseline KVM Ubuntu image.
- Spin up three nested virtual guest VMs (
consul-01,consul-02, andconsul-03). - Connect virtual networks mapping the static IPs (
10.10.10.11,12, and13). - Execute
bootstrap.shinside each guest to install Consul and initialize the Raft cluster.
Step 5: Verification and High Availability Testing
1. Verify Consul Cluster Health
Log inside the bootstrap node consul-01 to examine the cluster states:
# SSH into Consul Node 1
vagrant ssh consul-01

# Check cluster members
consul members
You should see all three nested nodes listed in active operation:
Node       Address            Status  Type    Build  Protocol  DC            Partition  Segment
consul-01  10.10.10.11:8301   alive   server  1.17.0  2         dc-nested-01  default    <all>
consul-02  10.10.10.12:8301   alive   server  1.17.0  2         dc-nested-01  default    <all>
consul-03  10.10.10.13:8301   alive   server  1.17.0  2         dc-nested-01  default    <all>
2. Verify Raft Leader Status
Confirm that the servers have successfully established quorum and elected an active leader:
consul operator raft list-peers
Node       ID                                    Address           State     Voter  RaftProtocol
consul-01  72fa3bdc-00c5-430c-99d9-6cb8f121d5a1  10.10.10.11:8300  leader    true   3
consul-02  a65e7188-ee38-4e3b-9a84-0b1a1a729e1c  10.10.10.12:8300  follower  true   3
consul-03  897cbb11-477b-402e-ba02-181cf2622f99  10.10.10.13:8300  follower  true   3
3. Test High Availability Failover
We can simulate node failure and confirm the cluster's recovery path:
- Open a separate terminal, access
consul-01, and stop the Consul service:vagrant ssh consul-01 sudo systemctl stop consul - Access
consul-02and monitor peer updates:vagrant ssh consul-02 consul operator raft list-peers - You will observe that the remaining two nodes (
consul-02andconsul-03) maintain quorum, detect the leader loss, and automatically electconsul-02orconsul-03as the new leader within milliseconds.
Congratulations! You have built, provisioned, and validated a highly resilient, multi-node HashiCorp Consul cluster running completely inside a nested KVM sandbox on Proxmox!